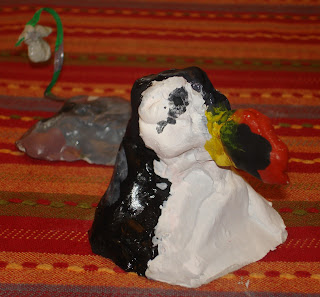
Clay is a fine-grained deposit found in soil. Clay is easy to mold into different shapes when it is wet. When it dries it hardens. Clay can also be heated to very high temperatures (or fired) in a special oven called a kiln.
For our lesson, air-dry clay was used. This dries and hardens well without the need for a kiln.
Once the clay had dried it can be painted and varnished for decoration and also to help preserve and protect it from damage.
Activity 1:
1. Sketch the basic shapes of the animal or object you wish to sculpt using an pencil on paper. Draw very softly and lightly at first to find the right right shapes.
- Look for large and small shapes.
- Look at the shapes to see whether they are round or square, oblong or triangular, for example.
2. Sketch the animal or object from the side and again from the top, front and back to plan all sides of your sculpture.
Activity 2:
1. Mold the clay into the basic shapes of your animal or object. Remember to look at the size of the shapes in comparison with the other shapes of the object. For example, an elephant's torso would be large, fat and oblong in comparison to it's head, which would be smaller and rounder.
2. Join the basic shapes together using lots of water so that the shapes stick together well.
3. Use smaller bits of clay (and, again, lots of water) to push into cracks and parts of the sculpture that look as if they might break.
4. Concentrate now on the detail of the animal - the texture of skin or fur, the eyes and ears etc.
Activity 3:
1. Paint your sculpture when it is dry with acrylic paints.
2. Once the paint is dry, varnish the sculpture with a varnish appropriate for paint or ceramic work.

No comments:
Post a Comment