Portrait of the Artist's Mother
Respected artist, Thomasin Dewhurst has taught Art and Piano to children and adults for over twenty years. With a Masters Degree in Art and Art History, and advanced qualifications in Piano & Piano/Music Theory from Trinity College of Music, London, Thomasin offers high quality lessons and workshops for beginner to intermediate/advanced students. Students participate in two piano recitals each year, and in various art exhibitions (winning many top awards!).
Tuesday, September 27, 2011
Sunday, September 25, 2011
2 - 3 hour drawings by younger students in my Saturday Adult & Teen Art Class
Pre-Figure Study drawings of an artists' wooden model
by younger students in my Saturday Adult & Teen Art Class
Students focused on placing the whole figure in the center of the paper in a balanced way. Proportions were studied as well as the relationship between length, size and tone of the various parts of the figure. Contrast between secondary elements in the background and the main figure (focal point) were looked at. The drawings were finished by balancing the drawing, emphasizing the focal point/s and removing extraneous elements, if necessary.
First-time Oil painting by my Homeschool class
First-time Oil Paintings after a painting by Rembrandt van Rijn
by middle and high-school aged students in my Homeschoolers' class at the Livermore Community Center
The students focused on accurate observation, good composition, creating a strong focal point and looking at the subtleties of color and tone in painting the portrait and the background.
Sunday, September 11, 2011
Teen / Adult class Bas-Relief portraits in clay
Expressive Clay Bas-relief Portrait
by a 13 year old student
Crayola air-dry clay
Bas-relief sculpture is a low-relief sculpture or a sculpture that is slightly raised from a flat background or background plane.
Friday, August 19, 2011
Two-hour cardboard robot-making project
Robot with bared teeth and bow-tie
by an 8 year-old student
Robot with thought-bubble and purple trousers
by a 7 year-old student
Robot (with thought-bubble & purple trousers) in his home with fridge, TV, couch & table
by a 7 year-old student
Thursday, August 18, 2011
Wednesday, August 17, 2011
Friday, August 12, 2011
Painted clay fantasy animals
Fantasy horned dog looking at bones
(Air-dry clay and water-based oil paint)
Comic book style watercolor paintings
Painted story after the Smurfs comics by Peyo
(pencil, watercolor and gouache on paper)
by a 7 year old student
Comic book style story (work in progress)
(pencil and gouache on paper) by an 8 year old student
by a 7 year old student
Comic book style story (work in progress)
(pencil and gouache on paper) by an 8 year old student
Friday, July 22, 2011
Clay fantasy animals - stage 2
Two wings from clay cut-out slabs have been added, and the sculpture is left to dry. No firing is necessary with air-dry clay.
Clay fantasy animals - some work in progress
A clay sculpture made from air-dry clay by a 7 year old. The body is made out of a closed pinch pot (it is hollow in the centre to help with drying). The head and eyes are made from balls of clay, and the horns made from rolled "snakes" of clay.
A horned fantasy dog sculpture in the background by another 7 year-old.
Wednesday, July 20, 2011
Saturday, July 16, 2011
Paper-making project
Finished paper out to dry.
Some of the flowers and leaves we put in the paper.
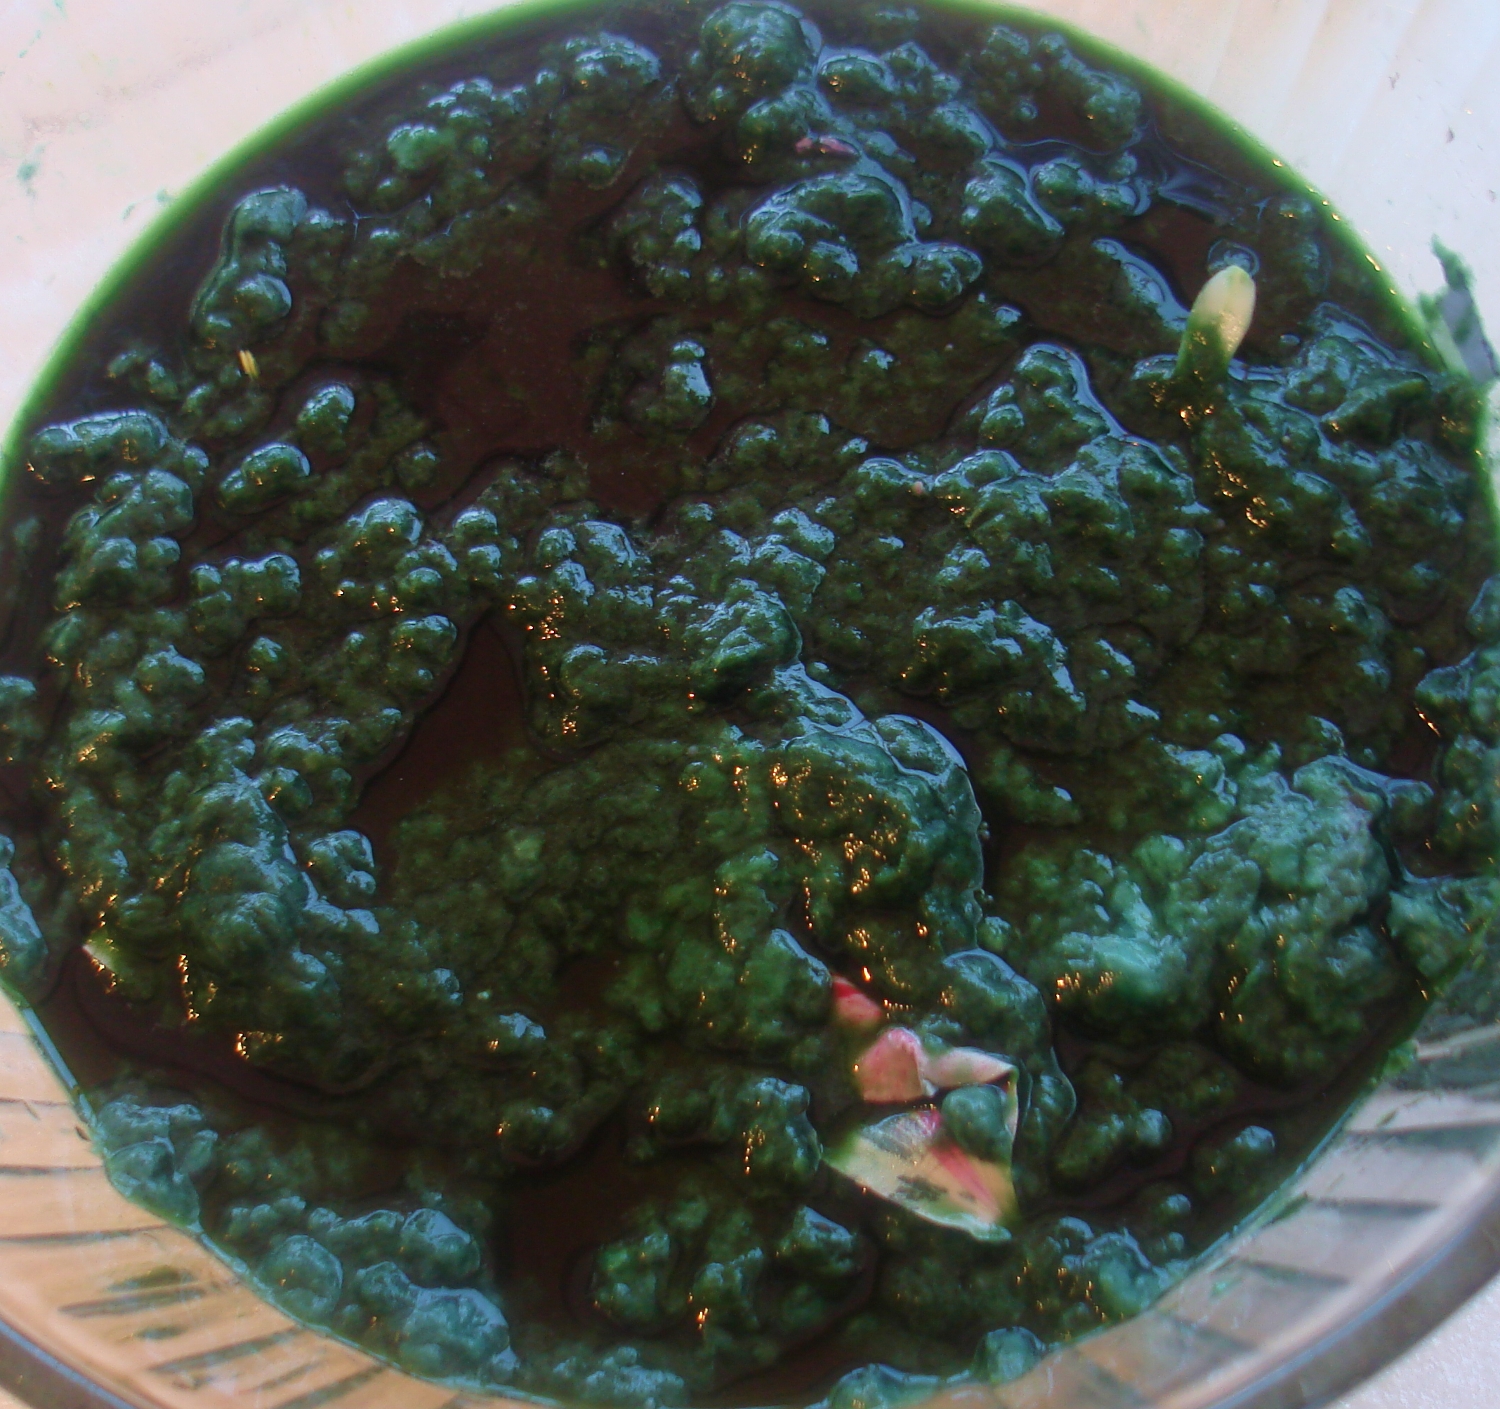
The paper pulp with flowers, leaves and food coloring.
The paper pulp on the framed screen.
The excess water from the pulp in dripping down into a tub.
Friday, July 1, 2011
Thursday, June 23, 2011
Thursday, April 28, 2011
Clay Coil Pots
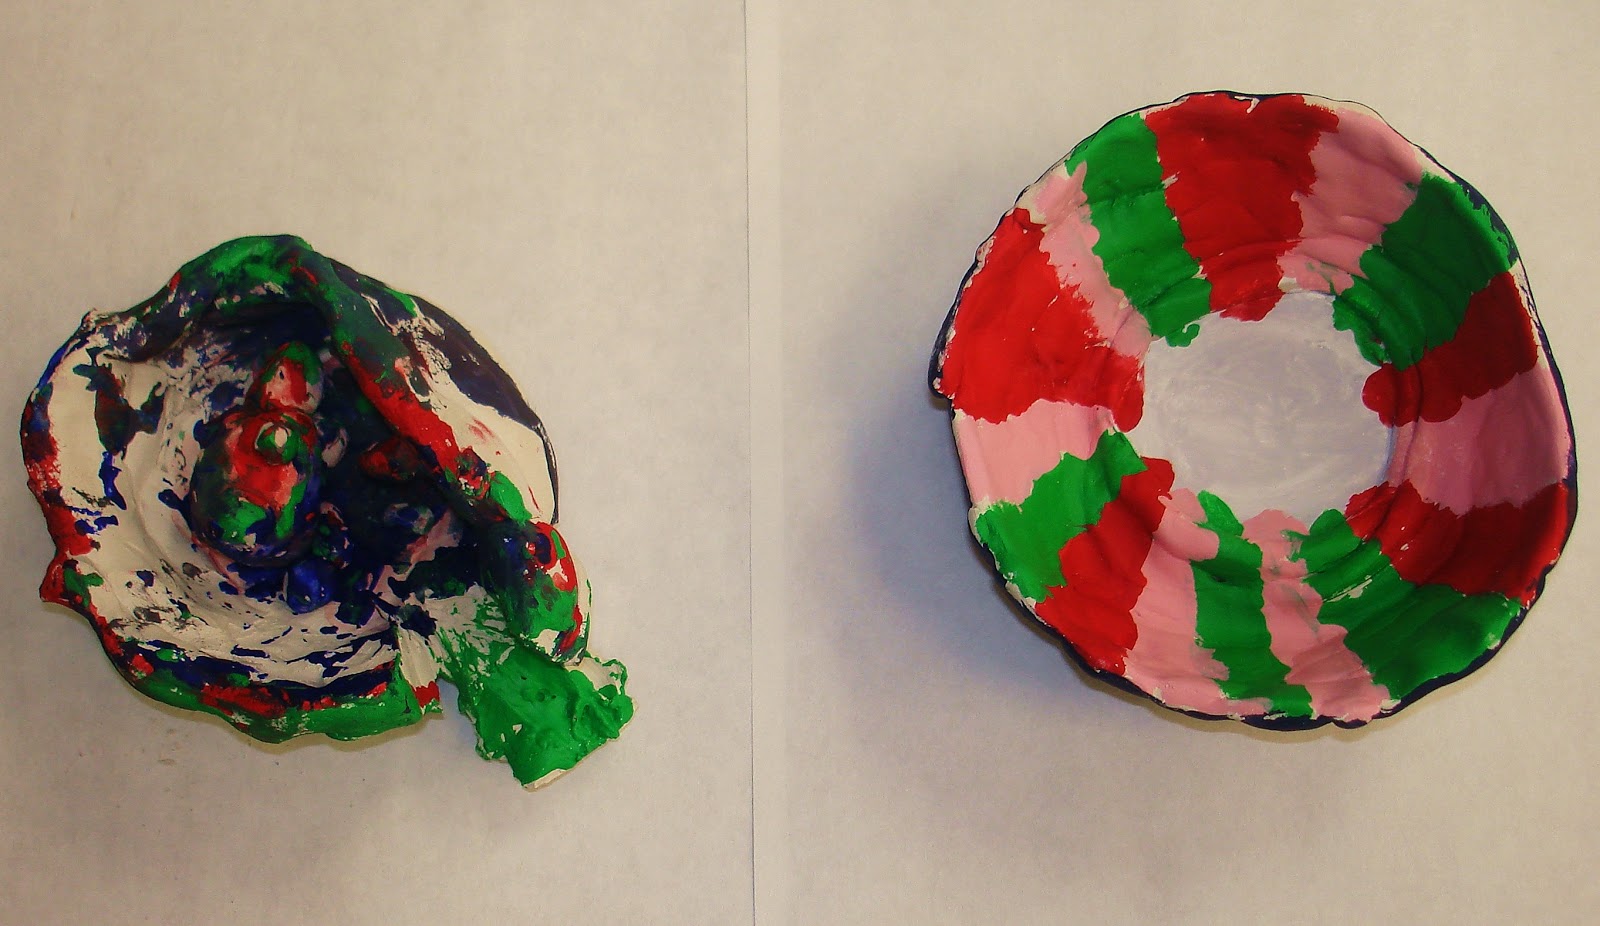
With this project the students used air-dry clay. The students started the pots off with a round, flat base of clay about 3/4 of an inch thick and about 3 inches in diameter. The students then rolled out strips or "snakes" of clay which they coiled around the base to makes the sides of the pot. Lots of water was used to fill in cracks and to stick clay together. The water and clay made a thin liquid (called "slip"). Using "slip" like this helps to ensure the pot does not crack or break when drying. The inside of the pot was reinforced with thin, flat patches of clay about an inch in diameter. These patched were placed over weak points, holes or cracks until the side of the pots felt solid.
Once dry, the pots were painted with acrylic paint and will be varnished with ceramic varnish.
This is the work that was done:
Once dry, the pots were painted with acrylic paint and will be varnished with ceramic varnish.
This is the work that was done:
Wednesday, April 13, 2011
Thursday, March 10, 2011
Animal sculptures out of clay
Clay is a fine-grained deposit found in soil. Clay is easy to mold into different shapes when it is wet. When it dries it hardens. Clay can also be heated to very high temperatures (or fired) in a special oven called a kiln.
For our lesson, air-dry clay was used. This dries and hardens well without the need for a kiln.
Once the clay had dried it can be painted and varnished for decoration and also to help preserve and protect it from damage.
Activity 1:
1. Sketch the basic shapes of the animal or object you wish to sculpt using an pencil on paper. Draw very softly and lightly at first to find the right right shapes.
- Look for large and small shapes.
- Look at the shapes to see whether they are round or square, oblong or triangular, for example.
2. Sketch the animal or object from the side and again from the top, front and back to plan all sides of your sculpture.
Activity 2:
1. Mold the clay into the basic shapes of your animal or object. Remember to look at the size of the shapes in comparison with the other shapes of the object. For example, an elephant's torso would be large, fat and oblong in comparison to it's head, which would be smaller and rounder.
2. Join the basic shapes together using lots of water so that the shapes stick together well.
3. Use smaller bits of clay (and, again, lots of water) to push into cracks and parts of the sculpture that look as if they might break.
4. Concentrate now on the detail of the animal - the texture of skin or fur, the eyes and ears etc.
Activity 3:
1. Paint your sculpture when it is dry with acrylic paints.
2. Once the paint is dry, varnish the sculpture with a varnish appropriate for paint or ceramic work.
Oil Painting Lesson
Oil paint is made with pigments (or the thing that give the paint its color) and a drying oil such as linseed oil. Linseed oil comes from the flax plant and is also known as flax seed oil.
Oil paint can be applied to canvas (heavy cotton or linen fabric), wood or wood panels, masonite or hardboard, paper or card as well as many other surfaces.
The surface on which the paint is applied should be sized or sealed (especially for canvas surfaces) and primed so that the oil paint does not peel off when dry.
Rabbit skin glue is a traditional size for an oil painting canvas surface. It can be bought in powder form and then mixed with water and boiled to make a gelatinous glue which is then applied to the canvas.
Several coats of gesso (a paint primer) are then applied to the surface.
Oil paint can be applied in various ways. A few examples are:
- Impasto (thick, textured paint)
- Glaze (a thin application of oil paint that has been mixed with linseed oil and turpentine, or other glazing mediums)
- Scumble (paint applied using a dryish brush that is gently applied and picks up the surface texture of the canvas or board)
Activity 1:
1. Use the primary colors of red, yellow and blue to create other colors such as green, purple and orange by mixing the primary colors together.
2. Try to create brown and black and other inventive colors by mixing the colors on your palette.
Activity 2:
1. Set up a still-life of objects with bright colors and place them on bright paper or fabric.
2. Paint a picture that focuses on just the colors. Look carefully at the colors around the objects and paint them in. See how colors appear brighter or duller when various colors are painted next to them (i.e orange next to green make each one look brighter).
Subscribe to:
Posts (Atom)